5 Easy Designs For Adorable Painted Wellies (And How To Make Them!)
While you may be excited to try out painting your own wellies, or sit with your kids as they create their own masterpieces, there may come that moment when you are stumped for ideas. Maybe you’ve seen some great ideas around and are looking for direction how to create your own version. Below are five sets of painted wellies that our customers have created – as well as how you can create your own version!
#1 Simple Retro Flowers
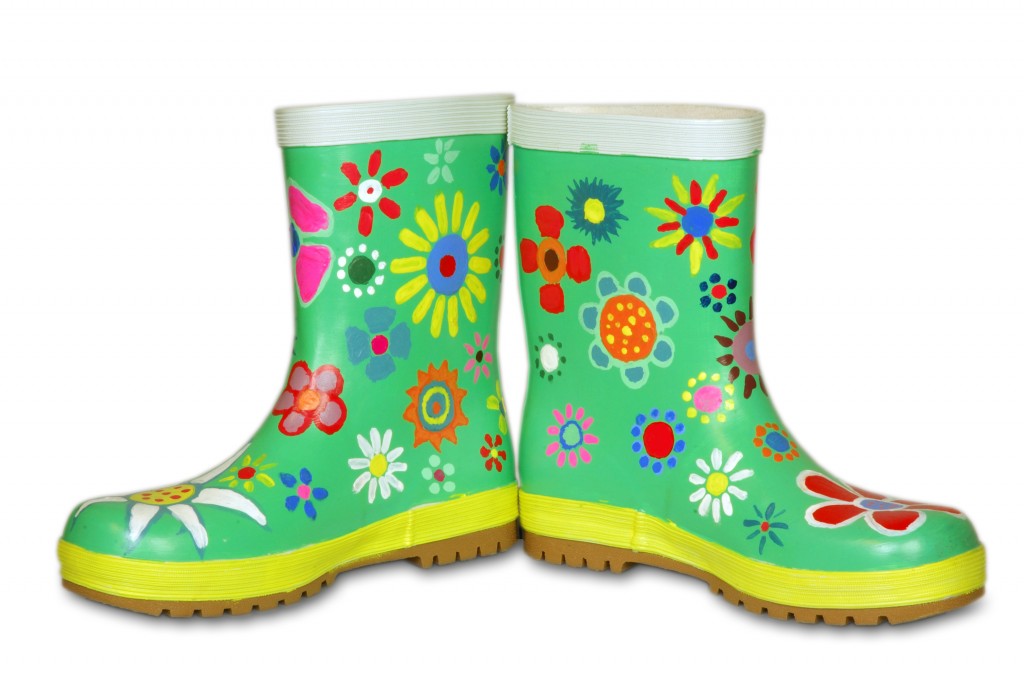 For the flower child in you, try this simple-but-adorable painted wellies design. This is so easy, but also colorful and eye-catching. Here’s how to re-create it:
Step 1: Paint a base layer of color of your choice all over your wellies (in this image, it’s a pale green.)
Step 2: Let the first layer of paint dry. So the colors don’t mix unexpectedly, you want to let that first layer dry completely. Then, decide if you want to paint a second layer of color or move to step 3.
Step 3: Start with a circle in whatever color you want.
Step 4: Create petal shapes all around the circle in a different color. Like so:
Experiment with several different petal shapes and flower colors and sizes. Have fun!
#2 Romantic Hearts
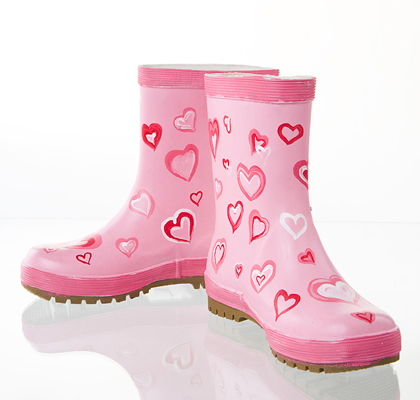
Hearts are a favorite shape among many, and this color scheme makes for a romantic style, however you can always mix it up to make it all your own!
Step 1: Paint a base layer of color of your choice all over your wellies (in this image, it’s a light pink, with a darker pink on the top and bottom “rim” areas.)
Step 2: Let the first layer of paint dry. So the colors don’t mix unexpectedly, you want to let that first layer dry completely. Then, decide if you want to paint a second layer of color or move to step 3.
Step 3: Paint heart shapes of different styles, sizes, and colors. You can also border the hearts with other colors to give them some extra dimension and pop!
#3 A Beautiful Fairytale
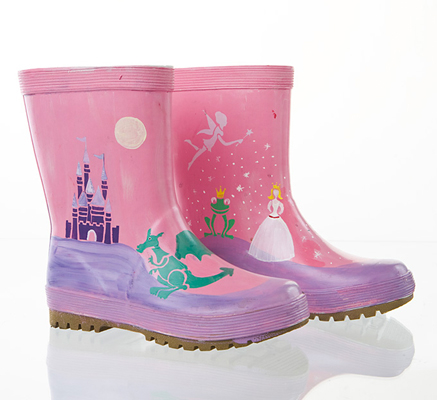 This beautiful and whimsical fairytale scene is very fun and interesting. Fortunately, it’s also very easy to make! If your child dreams of being a princess or dragon-slaying knight, or simply love story time, this will make for a fantastic project!
Step 1: Paint a base layer of color of your choice all over your wellies (in this image, it’s a light pink.)
Step 2: Let the first layer of paint dry. Then, decide if you want to paint a second layer of color or move to step 3.
Step 3: Paint the land in a different color than the base layer. In this image, it’s purple.
Step 4: Use the Fairy/Fantasy stencil patterns that you can choose for free with your paintable wellies kit. Choose a shape from the set, place the stencil flat onto the boot, and then choose a color to fill in the stencil shape.
Step 5: Hold the stencil in place for 30-60 seconds to let the paint set, then lift the stencil up. There are several shape options to choose from!
Step 6: You can paint stars and fairy dust by simply “dotting” the paint onto the boots. Use different amounts of paint for different sized “specks.”
#4 An Awesome Space Odyssey
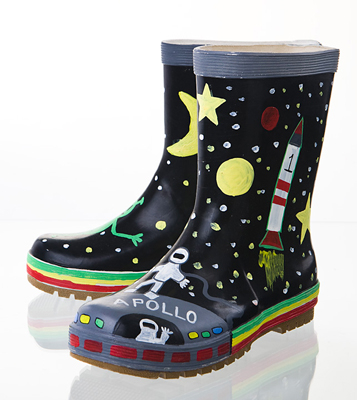 Dreams of space travel are very common among children of all ages, and can be played out easily in this fun design! Almost as exciting as traveling to the moon is spending an afternoon creating the voyage from your imagination.
Step 1: Paint a base layer of color of your choice all over your wellies (in this image, it’s a black with grey trim.)
Step 2: Let the first layer of paint dry. Then, decide if you want to paint a second layer of color or move to step 3.
Step 3: Paint the land in a different color than the base layer. In this image, it’s purple.
Step 4: You can use yellow to create the moon and star shapes, and other colors for the planets in your design. Stars can be made in the same way as fairy dust in the fairy design.
Step 5: Creating rockets and astronauts is a matter of simple shapes being put together. You can see a couple of examples here:


#5 A Sleek Cityscape
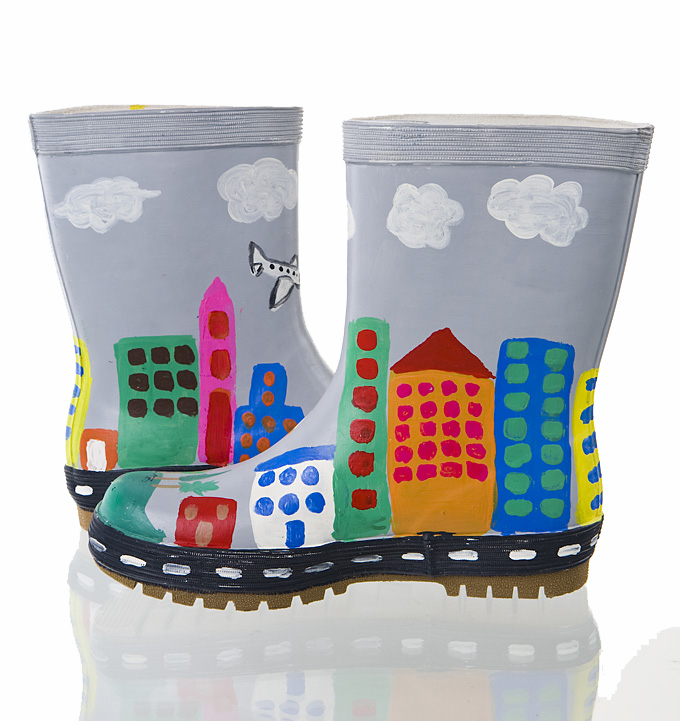
Some may simply enjoy their own surroundings, or add a little creative vision to the city they live in. Many children enjoy sitting outside and recreating what they see.
Step 1: Paint a base layer of color of your choice all over your wellies (in this image, it’s grey with black trim on the bottom.)
Step 2: Let the first layer of paint dry. Then, decide if you want to paint a second layer of color or move to step 3.
Step 3: Paint the land in a different color than the base layer. In this image, it’s purple.
Step 4: You can turn the black trim into a road with just a fe spaced dashes in white paint.
Step 5: Creating building is a matter of painting rectangles and perhaps topping some of them with triangles. Change up the heigh, width, and color of the buildings.
Step 6: Wait for the buildings paint layer to dry. Then, make windows with a series of smaller rectangles.
Step 7: Finally, paint clouds with white paint.
With all designs, be sure to wait for the final piece to dry completely before wearing them and showing them off to friends and family! The paint is waterproof once dry. Can’t decide among all of the possibilities? Use the magic eraser provided in your get to wipe away the paint and design over and over again!
FREE GIFT

Follow Us


Leave a Reply